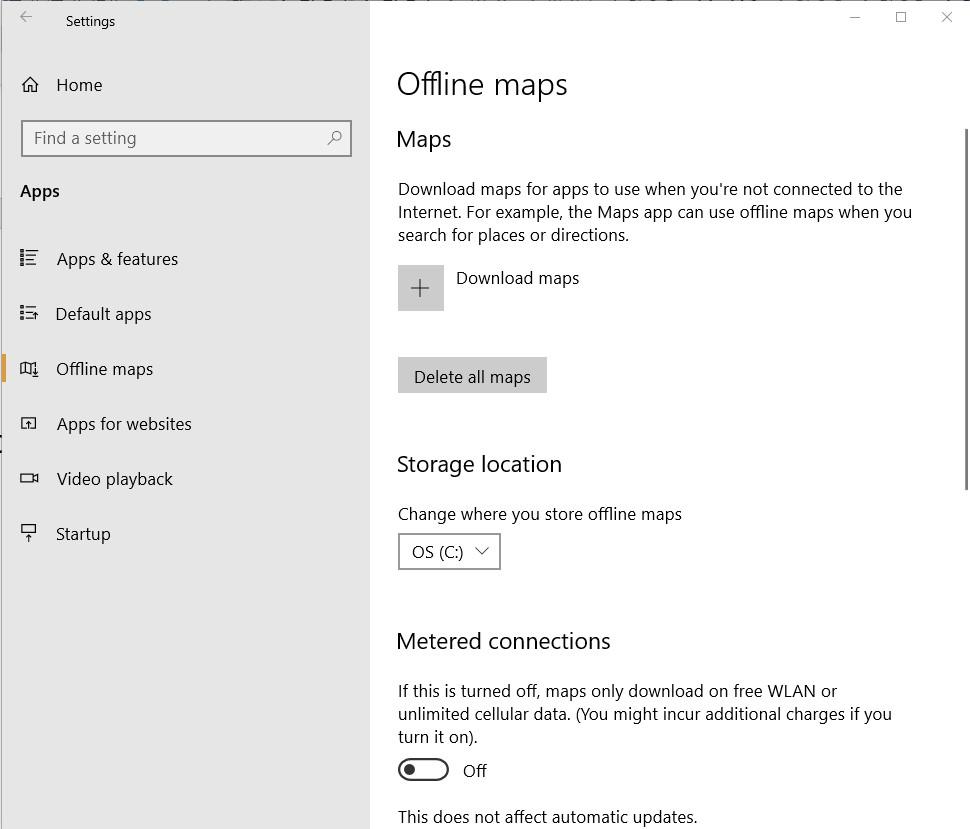
In Windows 10, access to offline maps is available through Settings. Click the Start Menu button (typically in the lower left corner of the Windows 10 desktop) then click the Settings icon. From the Home page, click Apps from the list of subcategories and then click the Offline Maps item from the left-hand navigation window, as shown in Figure A.
Figure A
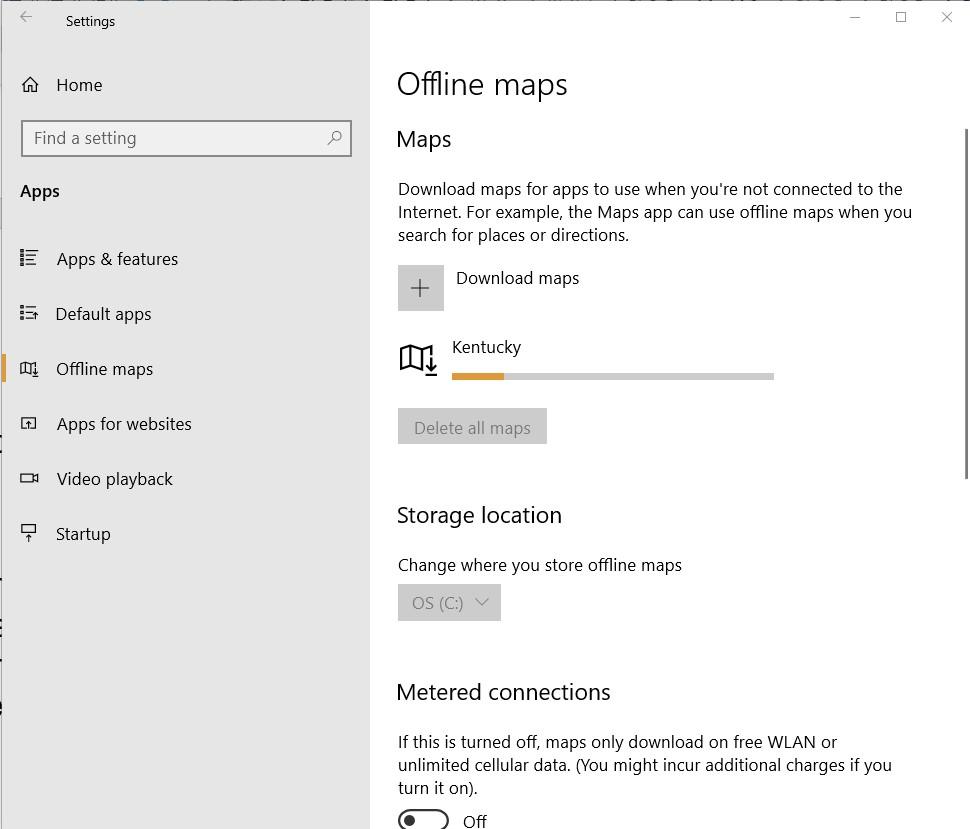
To choose a map to download, click the plus button next to the Download Maps text. The next series of screens will ask you to narrow your map search based on continent, general geographic area or country, and region or state. Once all of your selections are made, the download process will begin, as shown in Figure B.
Figure B
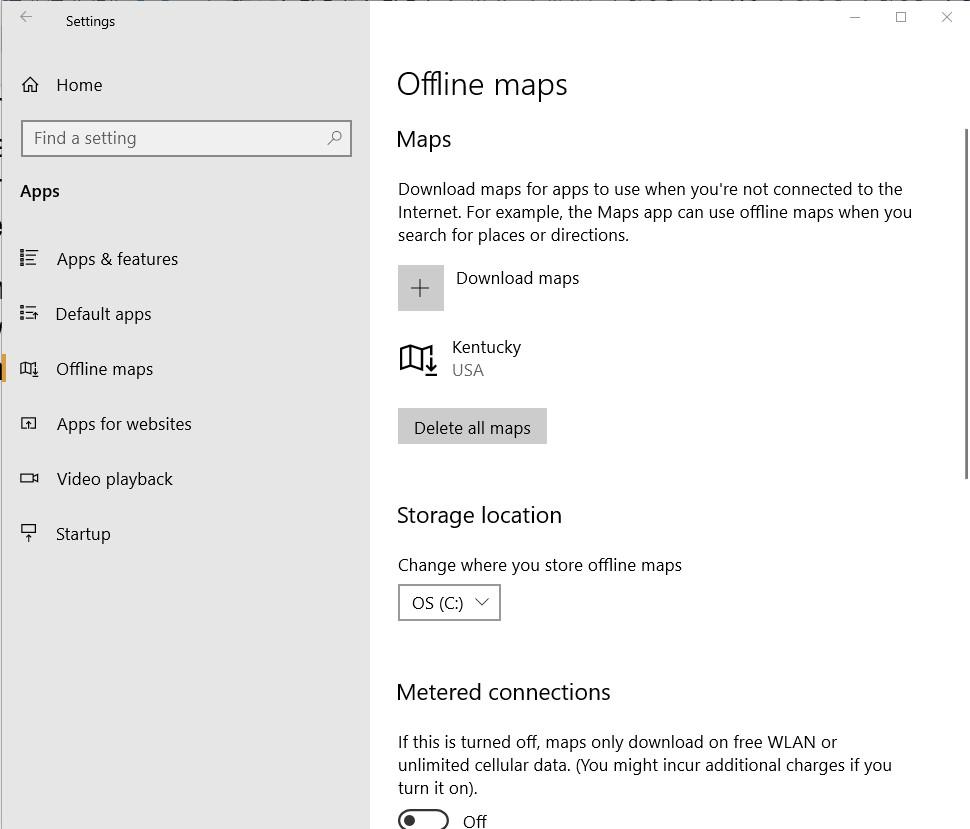
Depending on what map you choose to download, and the quality of your connection, the process will likely take a few minutes. When complete, you will see your downloaded map listed on the page (Figure C) and have offline access to it whenever you want it.
Figure C
When you no longer need offline access to a map, just click it and you will be given the option to delete it. Or, you can delete all downloaded maps at the same time when they are no longer needed. As you can see in Figure A, there is also an option to change where you want your downloaded offline maps to be stored.
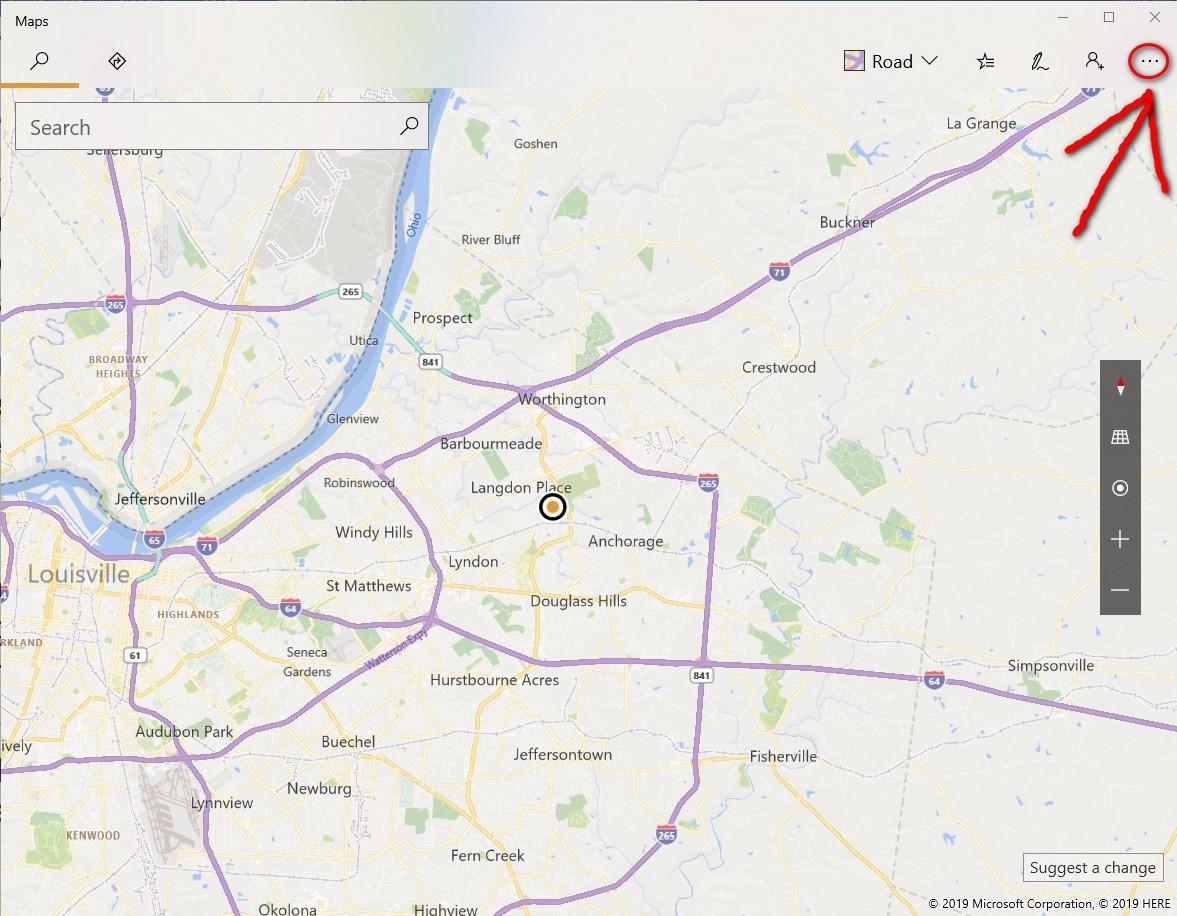
When you want to access an offline map in Windows 10, start the Maps app located on the Start Menu, click or tap the See more (3 dots) link on the menu (Figure D) and then click the Settings item. From there you can choose which map to load for offline viewing.
Figure D

No comments:
Post a Comment