
How the Files Get Corrupted?
Some of the most common causes of the file system corruption are:
- Improper shutdown or startup issues.
- Hardware failure
- NFS write errors
- Bad disk controller
- Accidental unplugging system
- Software errors
Solution 1 – Run SFC Tool
This is the best solution that I often recommend to repair Windows system files. Try running the (System File Checker) SFC inbuilt tool to fix corrupted files Windows 10.
Follow the steps to run the SFC command:
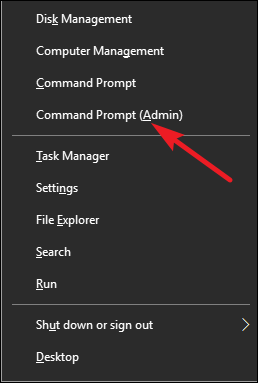
- Hit Windows Key + X > select Command Prompt (Admin)
- Now in the Command Prompt type sfc /scannow > hit Enter.
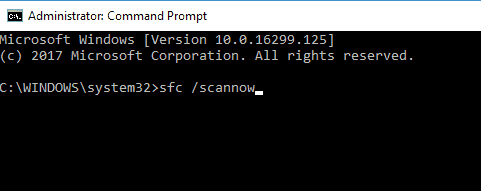
- And wait for the whole scanning and repairing process to complete (Approx. 15 minutes)
And as the repair process is finished the check if the Windows Resource Protection did not find any integrity violations message appears. This means the system files are not corrupted.
Well, in many cases it is found the inbuilt SFC tools won’t always fix the corrupted or missing files, so it is worth to try other solutions.
Sometimes the Windows Resource Protection could not perform the requested operation message also appears.
In this case, try performing the System File Checker scan in safe mode and assure the PendingDeletes and PendingRenames folders are under %WinDir%\WinSxS\Temp.
If you want to view SFC log, follow the steps to do so:
- First, open Command Prompt as admin.

- Then enter findstr /c:”[SR]” %windir%LogsCBSCBS.log > “%userprofile%Desktopsfclogs.txt” command > hit Enter
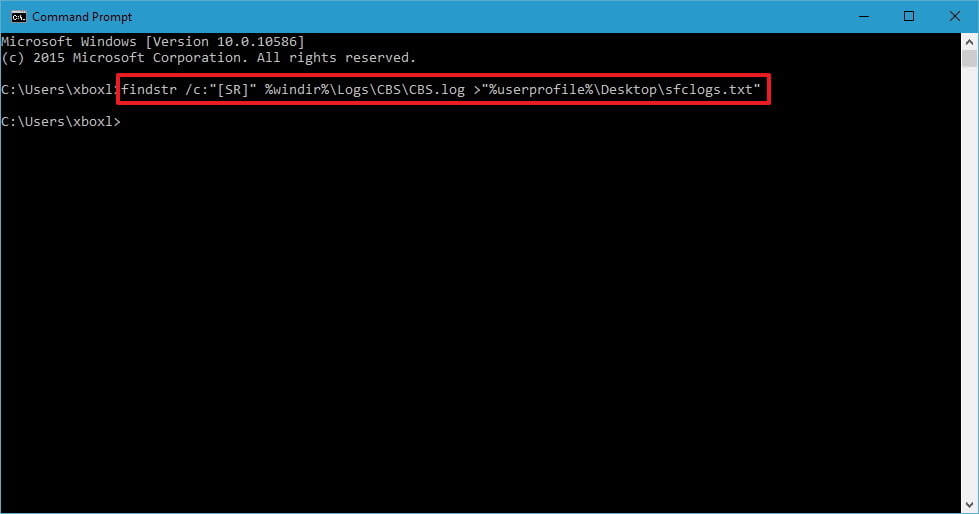
- And with this, you will build a sfclogs.txt file > on the Desktop.
- Now open the sfclogs.txt > check SFC scan results.
Note: The log file contains the information only related to the SFC scan performed in the Windows.
Solution 2 – Run the DISM Tool
If running the SFC scan won’t work for you then here it is suggested to try running the DISM tool. DISM (Deployment Image & Servicing Management tool) and is used to fix the corruption issues that the SFC scan won’t.
Alike SFC tool, the DISM is a command-line tool used for repairing system files. Follow the steps to run it:
- Open Command Prompt as admin
- And type DISM /Online /Cleanup-Image /RestoreHealth > hit Enter
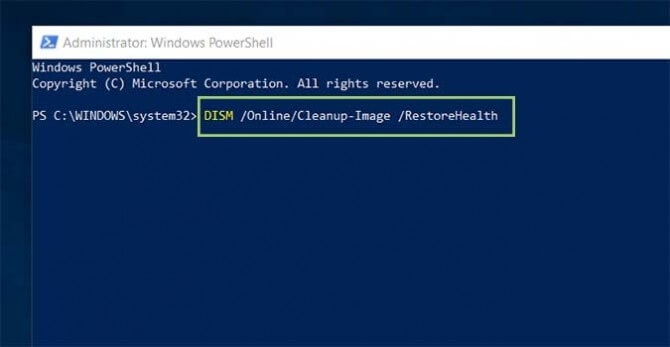
- Now the repair process starts, this may take 10 minutes or more.
- Wait for the whole repairing process to finish
Once the DISM tool scanning process is finished restart your PC and check it is repair Windows 10 corrupted files or not.
But if the issue still continues then try running the SFC scan again.
Solution 3 – Run SFC in Safe Mode
If both the above-given solutions won’t work for you then here try running the SFC tool from Safe Mode.
Running the tool from safe mode is relay worth as the booting Windows 10 in Safe Mode only uses default drivers, apps and avoid the possible interference of the third-party apps.
Follow the steps to enter Safe Mode in Windows 10:
- Open the Start Menu > click Power button.
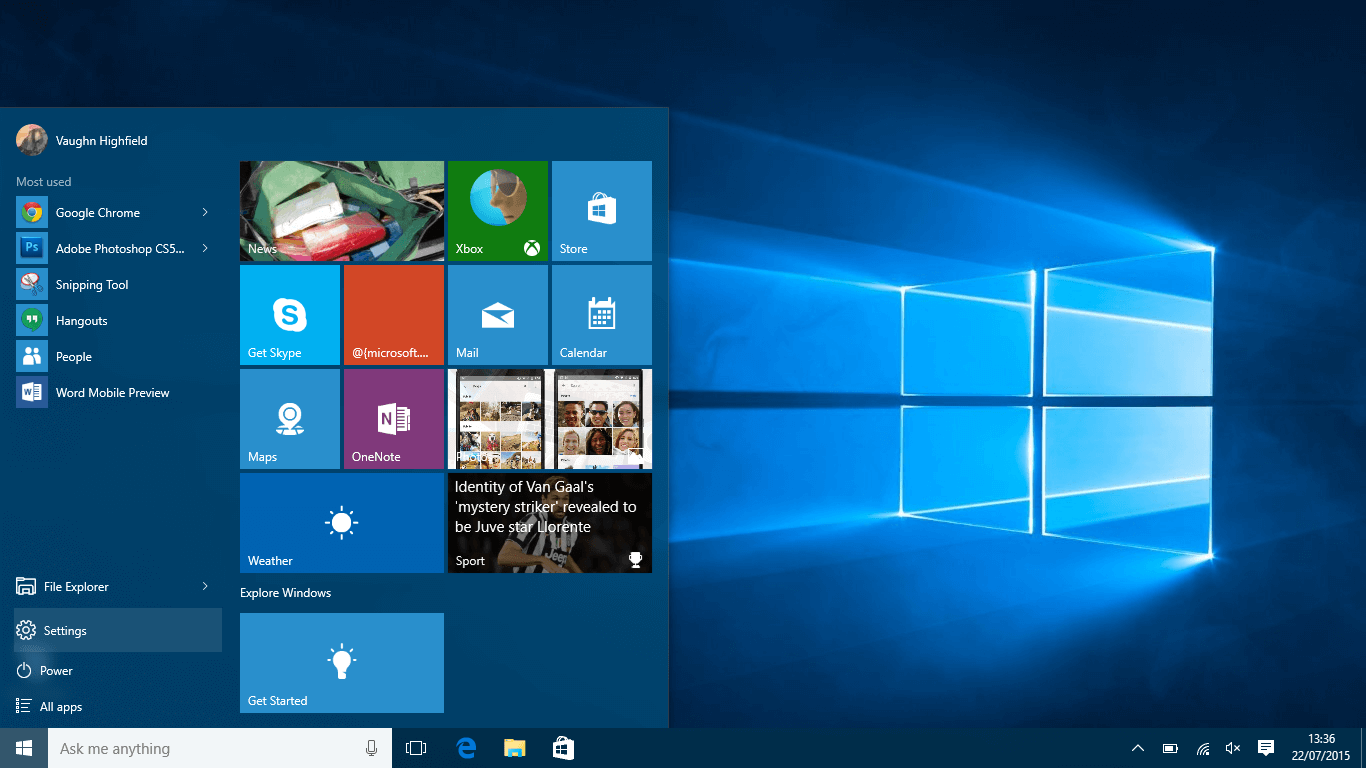
- Press the Shift key > to select the Restart option.
- A window opens with three options > choose Troubleshoot

- Move to Advanced options > Startup Settings > click the Restart button.

- As the PC restarts > a list of options appear > choose any version of Safe Mode by pressing the F8 key.
And as the Safe Mode starts, follow the steps given in Solution 1 to run the SFC scan and check if this repair Windows 10 corrupt files.
Solution 4 – Replace the Files Manually
If still struggling with the corrupted system files Windows 10, then here you need to try replacing them manually. Well, this is a highly advanced process so make sure to follow the steps carefully.
Very first, open the SFC log file and check which corrupted files can’t be fixed. I already discussed how to view the SFC log file in Solution 1, so follow the instruction given above.
Since after finding the corrupted file, transfer a healthy version file from another computer to your computer.
Make sure both the computers use the same Windows 10 version.
Follow the steps to replace the corrupted file manually.
- First, open Command Prompt as admin

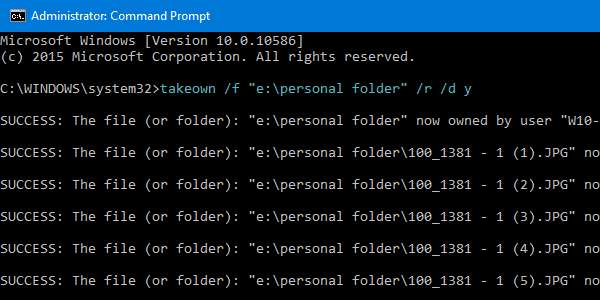
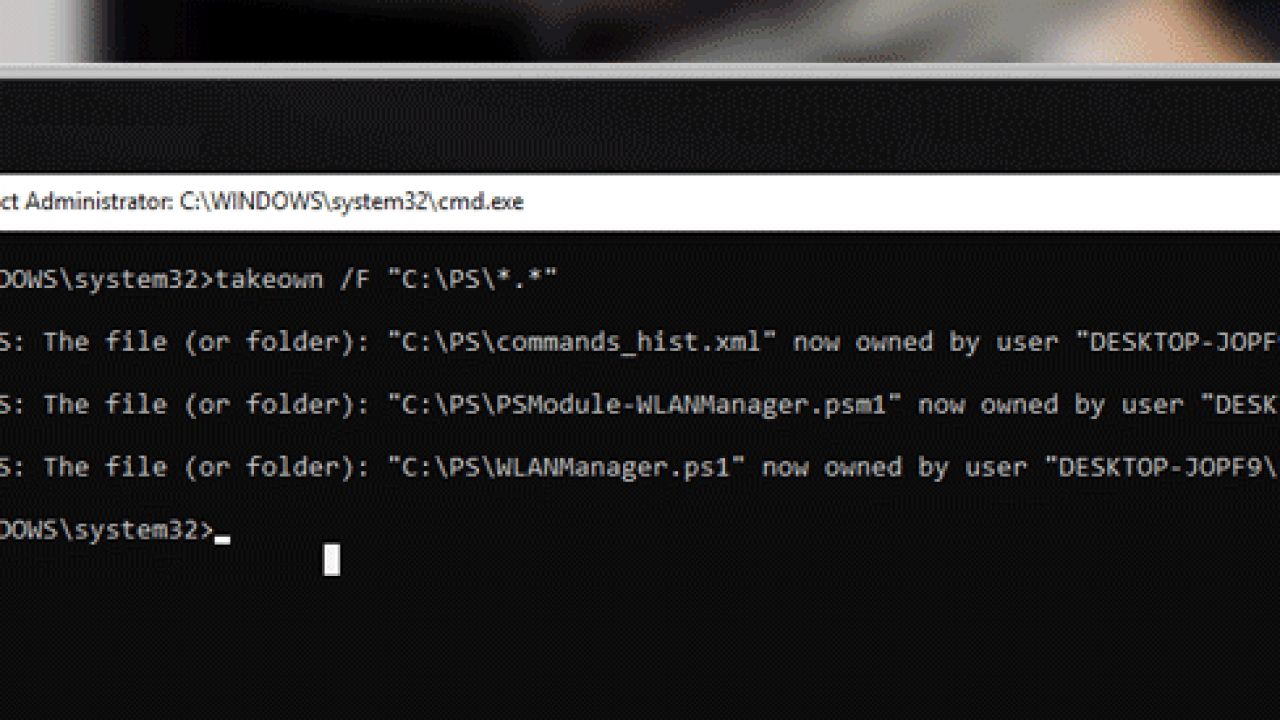
- And type takeown /f C:corrupted-file-location-and-file-name > hit Enter. Note: Make sure to replace C:corrupted-file-location-and-file-name with actual corrupted file location. Make sure to include both the filename and extension like given above in the command. And by running the takeown command you will have ownership over the corrupted file.
- Next type icacls C:corrupted-file-location-and-file-name /Grant Administrators:F command for gaining the full administrator privilege over the file. Again replace the C:corrupted-file-location-and-file-name with actual file location.
- And now replace the problematic file with a healthy file copied from a different computer. Enter copy C:location-of-healthy-file C:corrupted-file-location-and-file-name > hit Enter.
- Type Yes if asked you want to overwrite the file.
- And repeat the steps for entire corrupted files.
And as all the corrupted files are replaced > run SFC/verifyonly command to verify if the problem with corrupted files is fixed.
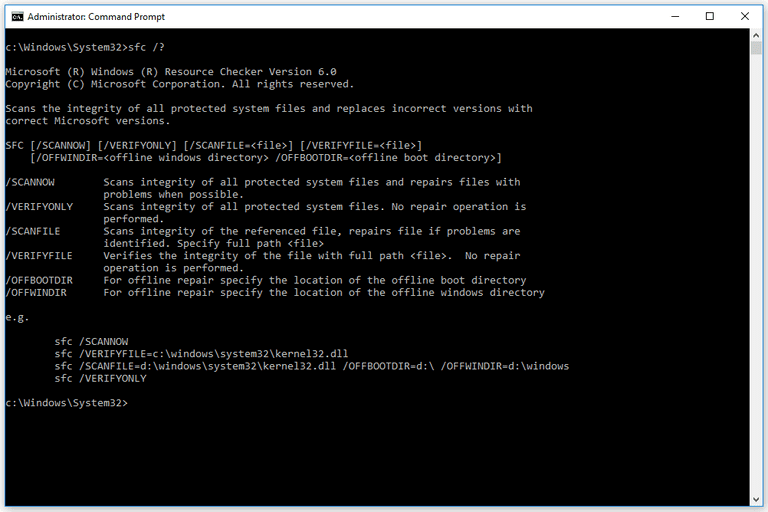
Well, this is the highly advanced solution but is also quite complicated, so make sure to read it a couple of times and follow the steps carefully.
I hope this works for you to fix Windows 10 corrupted files and repair Windows 10, but if not then follow the best solution.
Solution 5 – Perform System Restore
If still, you are unable to fix corrupt files Windows 10 then try performing System Restore to restore your system to an earlier state.
Follow the steps to do so:
- Press Windows Key + S > type System Restore > select Create a restore point option

- Then click System Restore button > check Show more restore points.
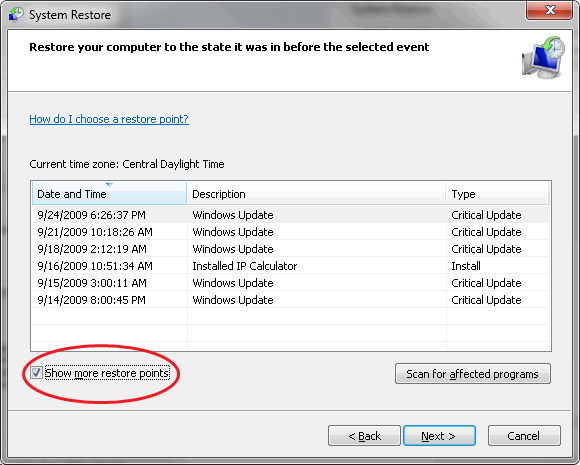
- And choose the available restore point > click Next.
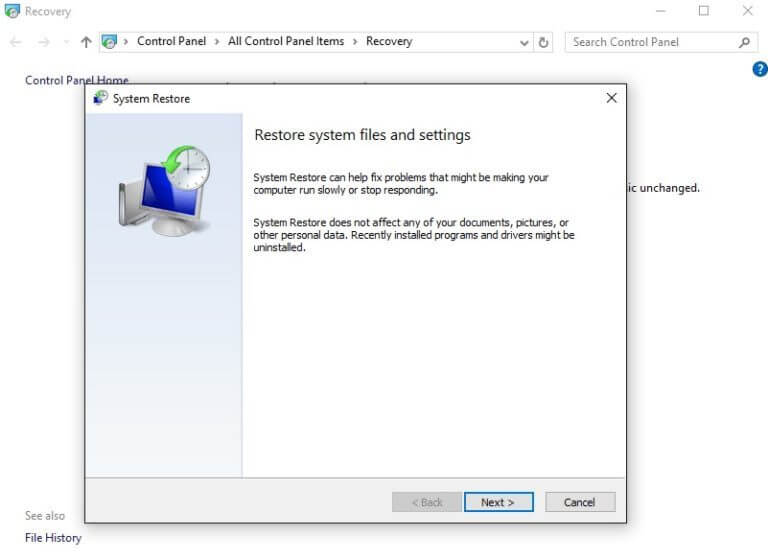
- Now follow the given instructions to perform the restore point.
And as the PC is restored, the system files are also restored to earlier healthy version and repair Windows system files.
Solution 6 – Reset Windows 10
Hope after following the above-given solutions the system file corruption issue is resolved in Windows 10. But still, I found it worth mentioning to describe resetting Windows 10.
This is a complementary solution and if any user is still struggling with the corrupted system files, then try to reset Windows 10.
Please Note – Doing this removes the installed apps and files so make sure to back up the crucial files.
Well to perform this, you need a Windows 10 installation media, so make sure to create one by using a bootable USB flash drive.
Follow the steps to reset Windows 10:
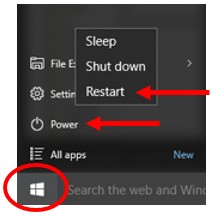
- Open the Start Menu > click Power button > hold Shift key > select the Restart option.
- Now choose Troubleshoot > Reset this PC.
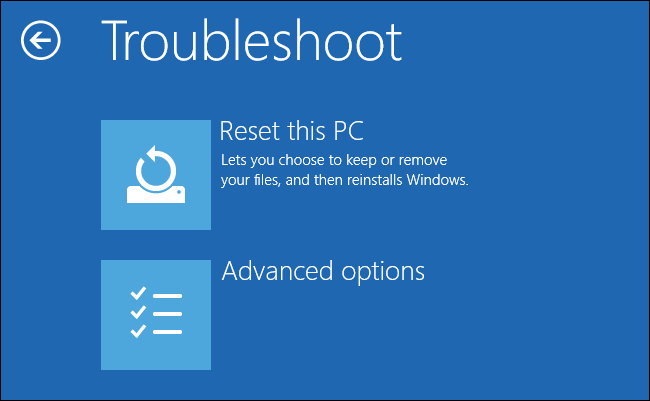
- Two options are available – Keep my files and Remove everything. First, one will reinstall Windows 10 but will keep the personal files and settings. And the second will remove both personal files and settings. Also, the third-party applications and downloaded files were removed by performing the reset.

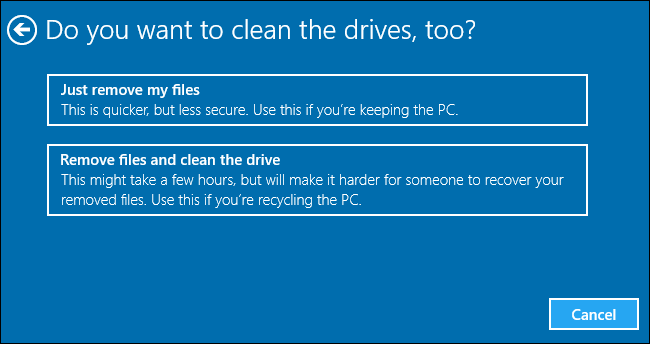
- If window popup showing whether you want to clean the drive > select Just remove my files option.
- Now choose your username and enter a password. If asked to insert Windows 10 installation media, make sure to do so.
- Choose your Windows versions > click Reset button to start.

- And follow the on-screen instruction to complete the process.
However if reset option won’t fix the corrupted system files issue, then repeat it again but here select Remove everything > Only in the drive where Windows is installed > Just remove my files option.

I hope this works for you to repair Windows 10 corrupted system files.

No comments:
Post a Comment